Light scenes
Step one:
In the logic, drag the “scene block” into a function chart. This can be found in the toolbar.


Step two:
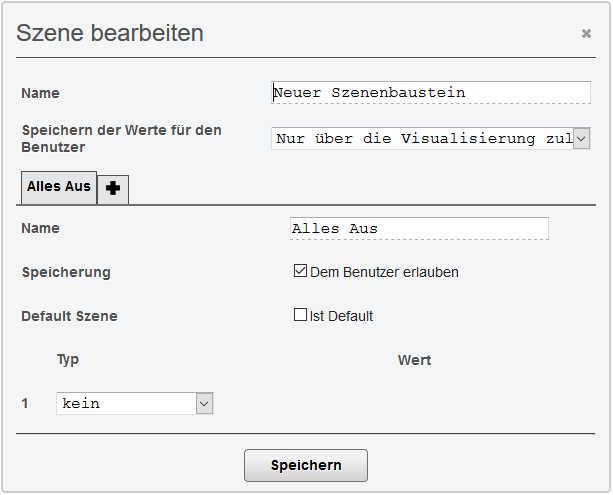
A popup with the settings then opens. Here you can specify the name of the block and scene, the storage options for scenes and the values yourself.
Step three:
By clicking on the plus symbol (+) and entering the name, you can create a new scene.
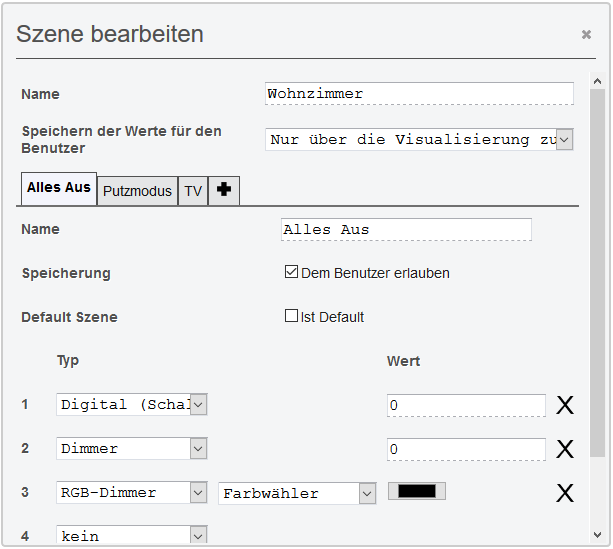
In this tutorial we will use three scenes “All Off”, “Clean Mode”, and “TV” to illustrate this, in which we will use three different lights, a switchable, a dimmable lamp, and an RGB strip. Therefore we select the types “Digital (switching)”, “Dimmer” and “RGB-Dimmer”.
Step four:
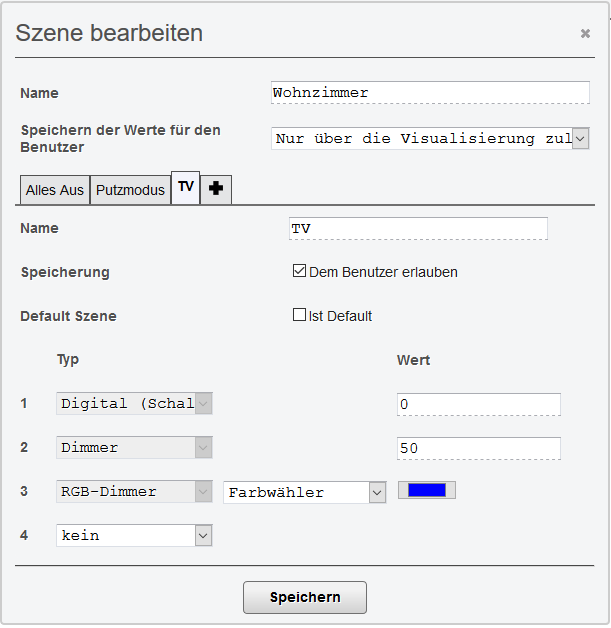
Then for each scene the values of the individual illuminants are determined, click on the respective scene and enter the individual values. With the RGB dimmer you can enter values for all three colors. The selection of the colors works via the field between “Type” and “Value”.
The scene module is created with a final click on “Save”.
Step five:
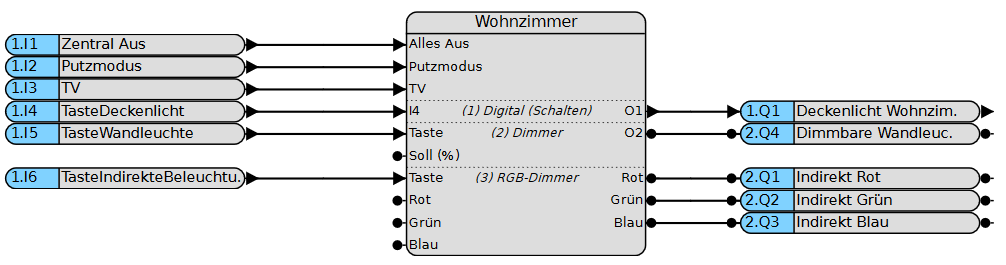
Once back on the function chart, drag the individual outputs to which the lighting is connected into the function chart and connect them to the scene module.

Step six:
Now we will show you how to use the created “scene block” for a visualization, navigate to the visualization editor and select “scene block” in the toolbar. Now a module appears with the same name as the named “Scene Component” from the previous steps.
This is dragged into the dashboard as usual and then created with a click on “Save”.

Step seven:
In addition, the individual light sources are visualized.
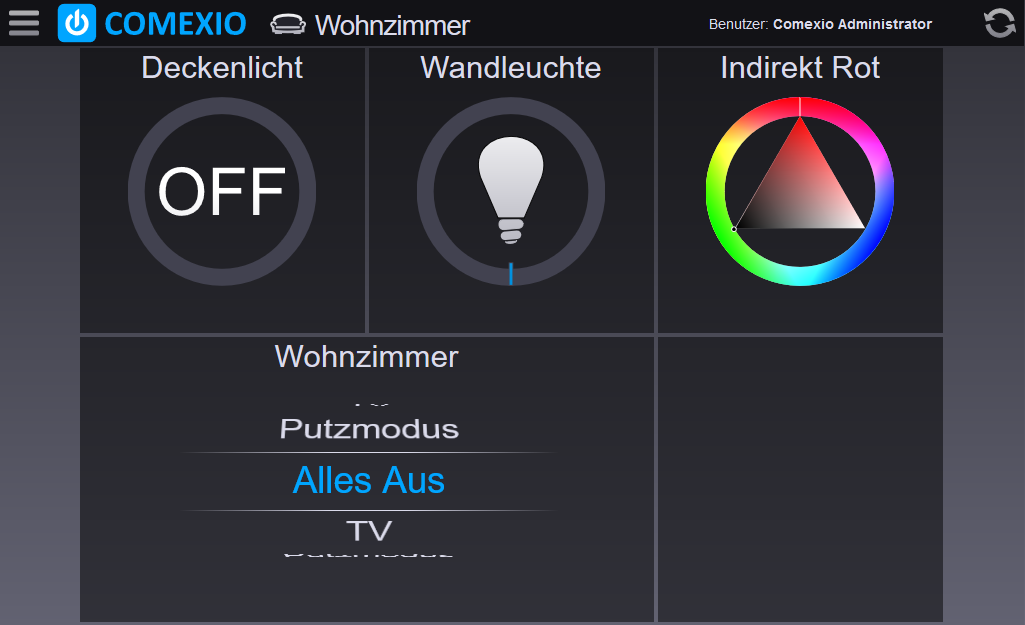
Now switch to Visu, where you can activate the individual scenes with one click. In addition, you can change the values of the lighting and save them in the individual scene with a click on the diskette and a confirmation.

This is how it should look now.
Step eight:
Integration of conventional buttons:
To switch the scenes with conventional buttons, you must connect them to the corresponding “scene module” (see picture). You can also control individual lamps directly by using the inputs opposite the outputs.
Here you will also find a video tutorial on the subject of light scenes.